Create a Project
Create a Project⚓︎
This section explains how to create a project, define its area of interest, configure project settings, and generate project tasks.
For a list of all guides on the TCAT Wiki, refer to the Guides List.
Create a project⚓︎
Use New Project to open the four-step project-creation workflow.
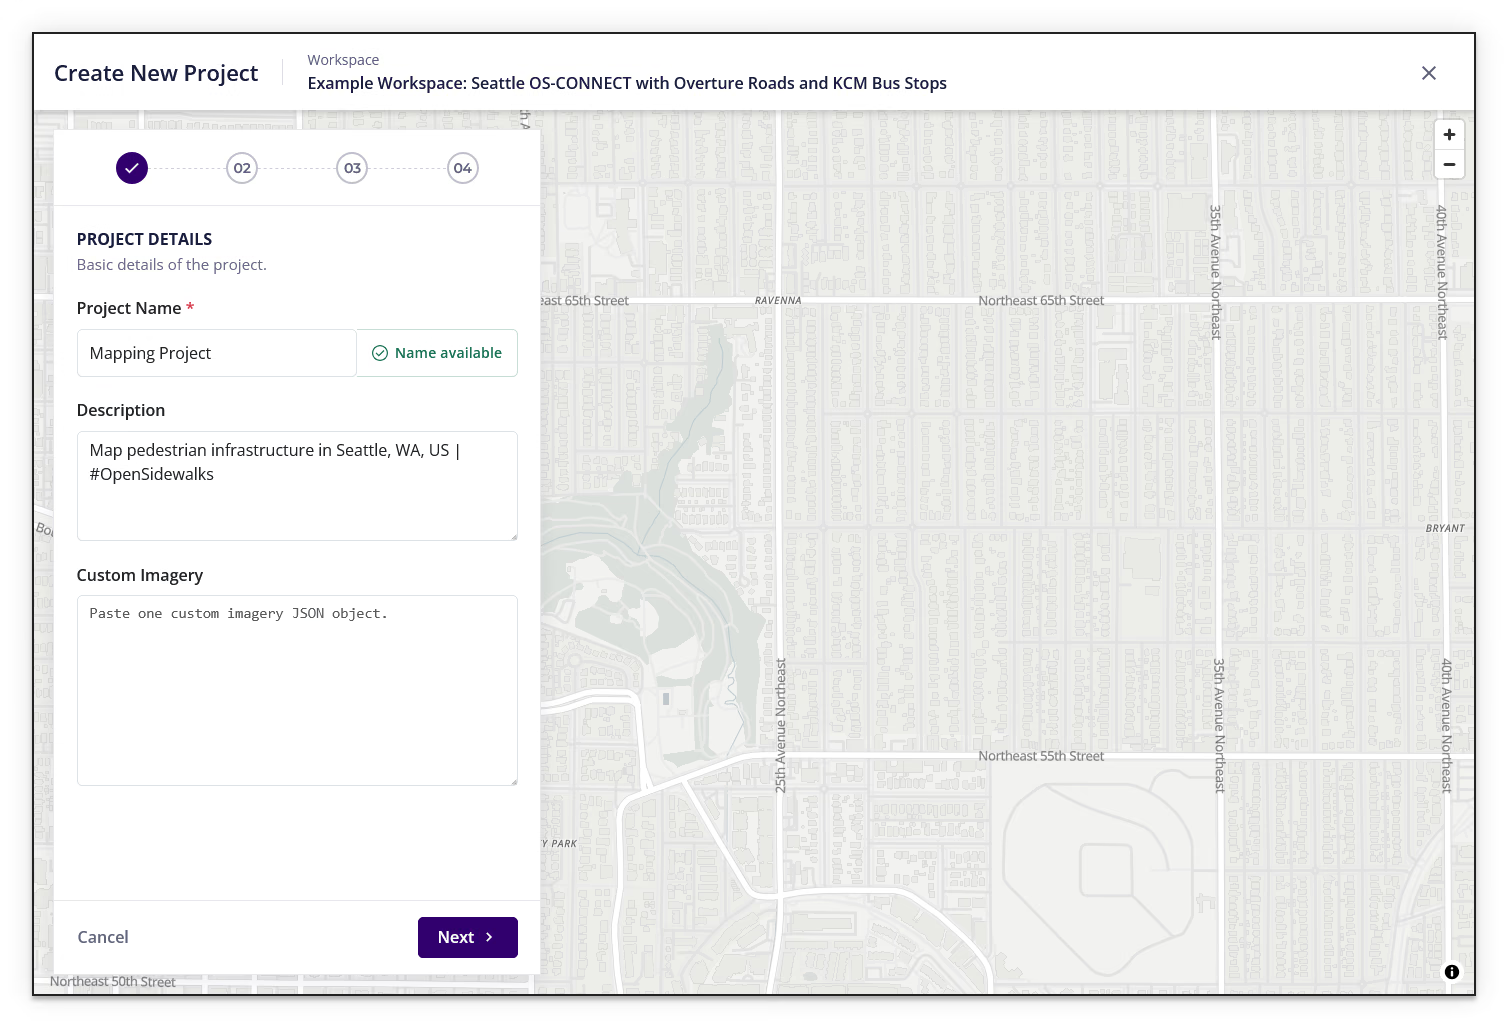
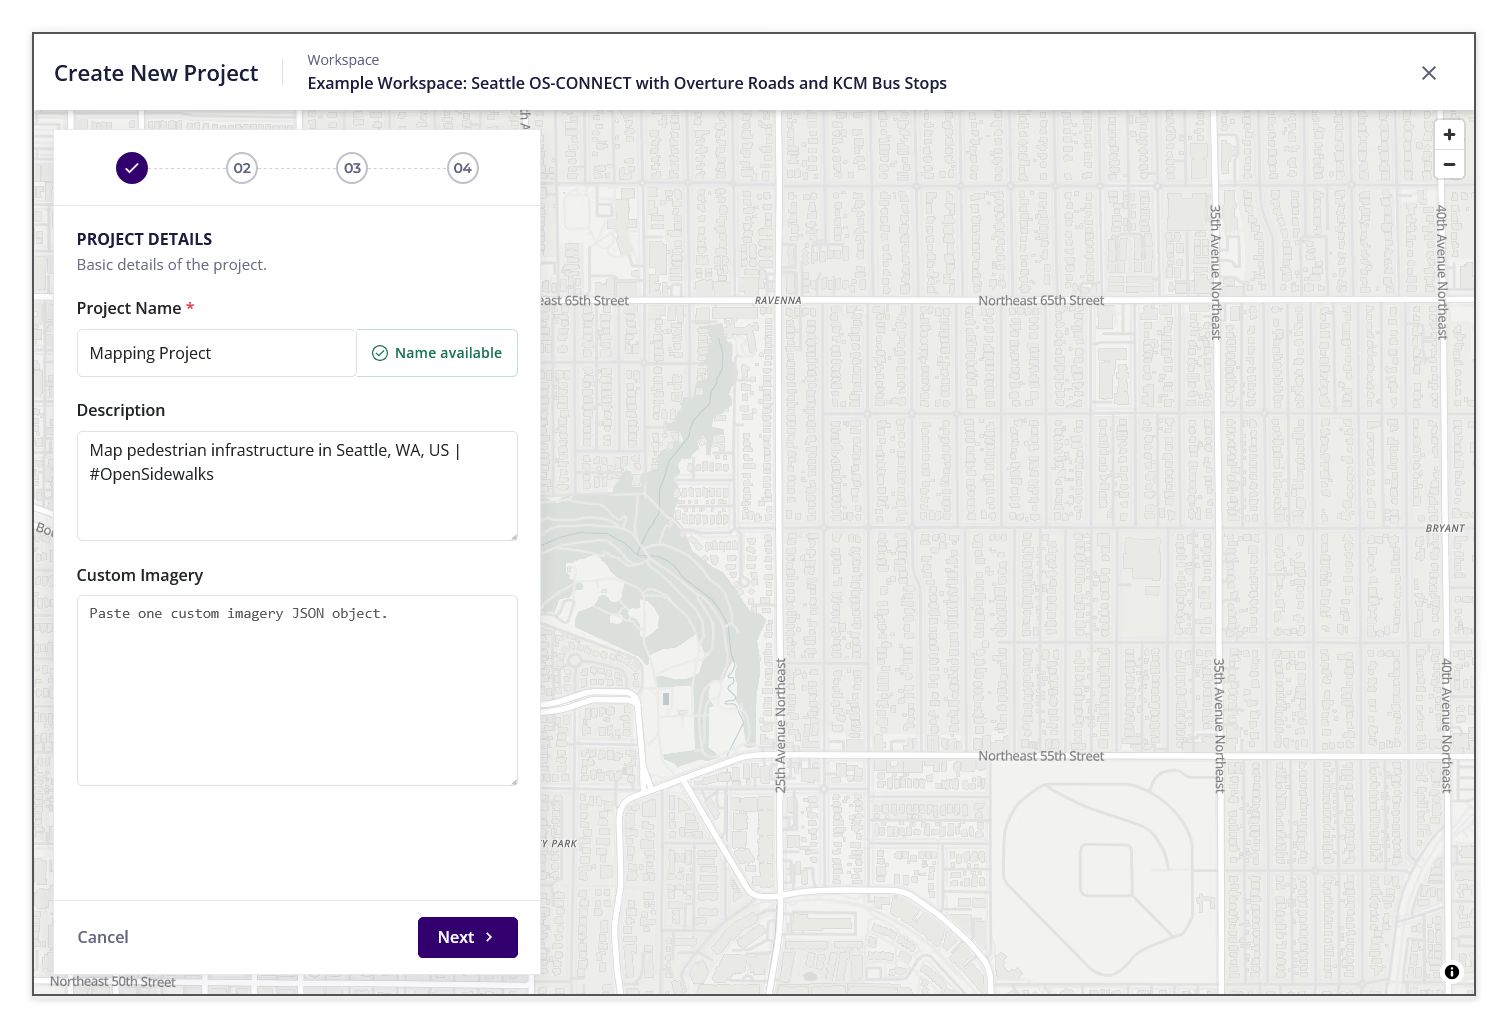
Step 1: Enter project details⚓︎
- Select New Project
- Enter a name in Project Name
- Confirm that the name is available
- Enter a description in Description
- Optionally enter one custom imagery JSON object in Custom Imagery
- Select Next
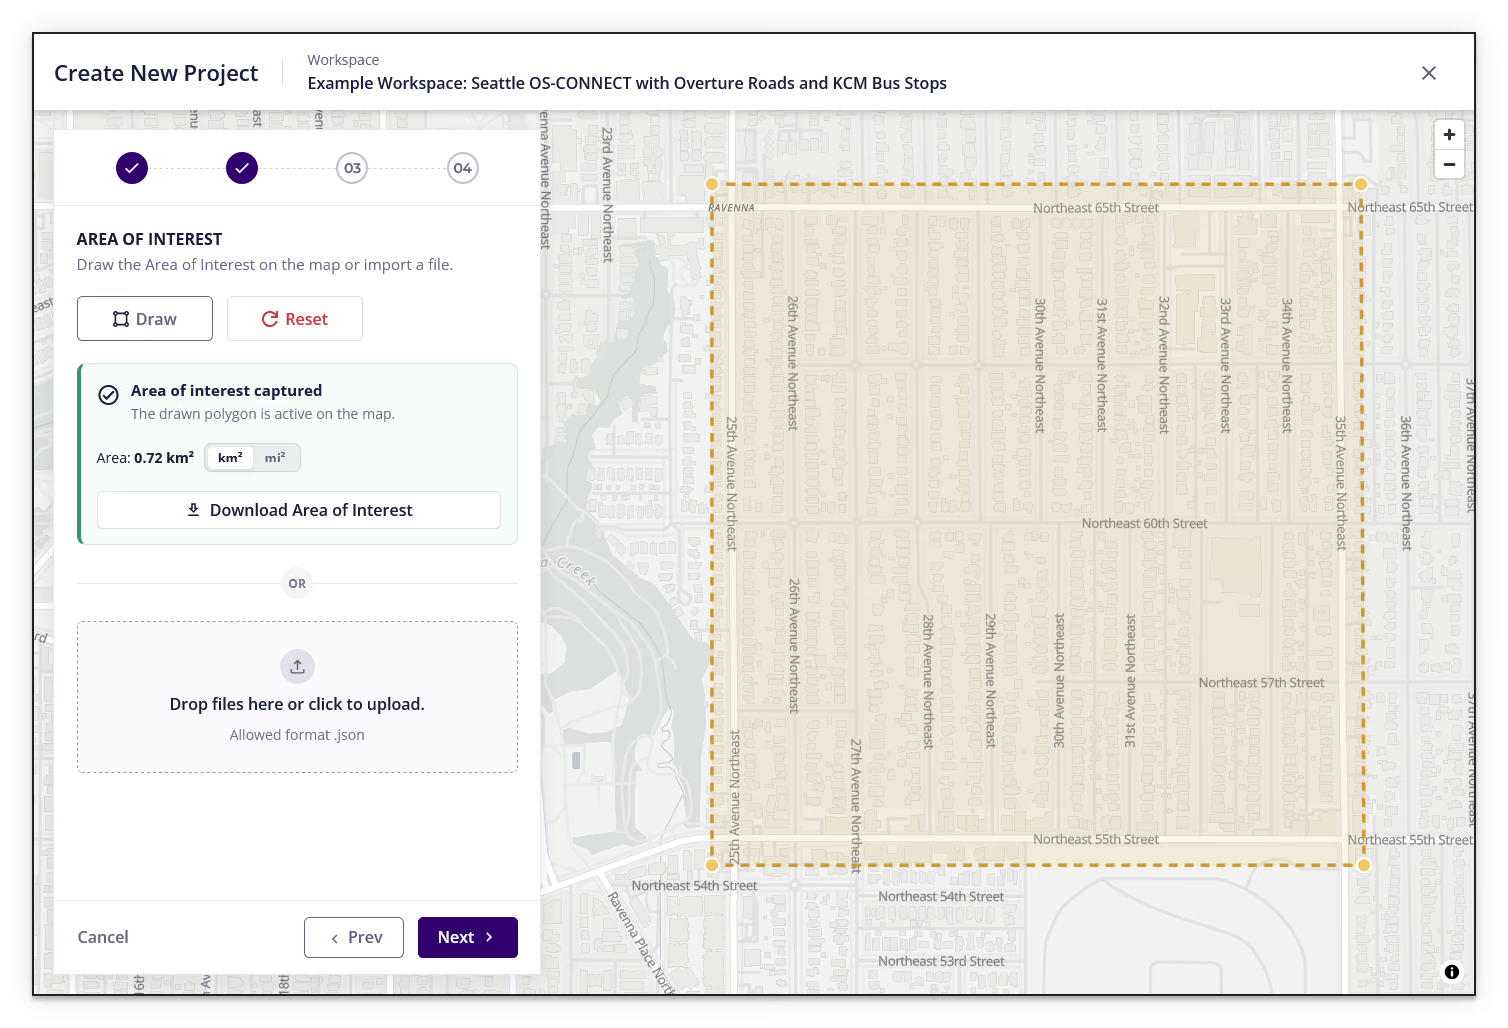
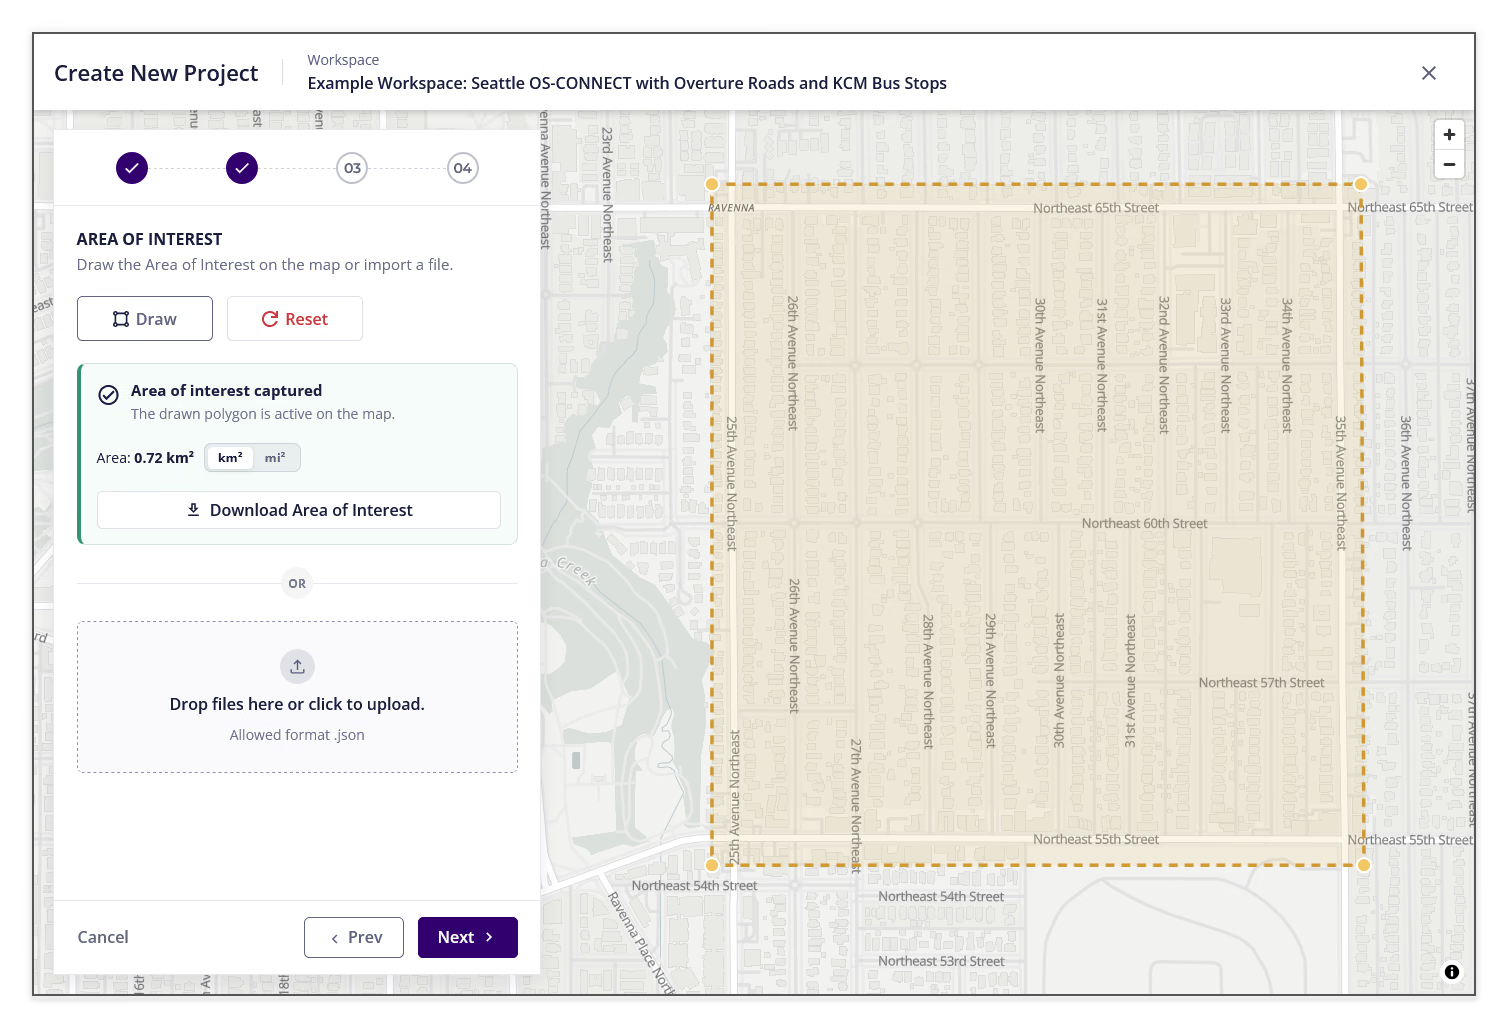
Step 2: Define the area of interest⚓︎
- Draw the project area on the map with Draw
- Use Reset when you need to clear the drawn area
- Review the Area of interest captured summary
- Use Download Area of Interest when you need a copy of the drawn area
- Alternatively, upload an area-of-interest JSON file in the upload area
- Select Next
The area panel displays the captured area and lets you switch between km² and mi².
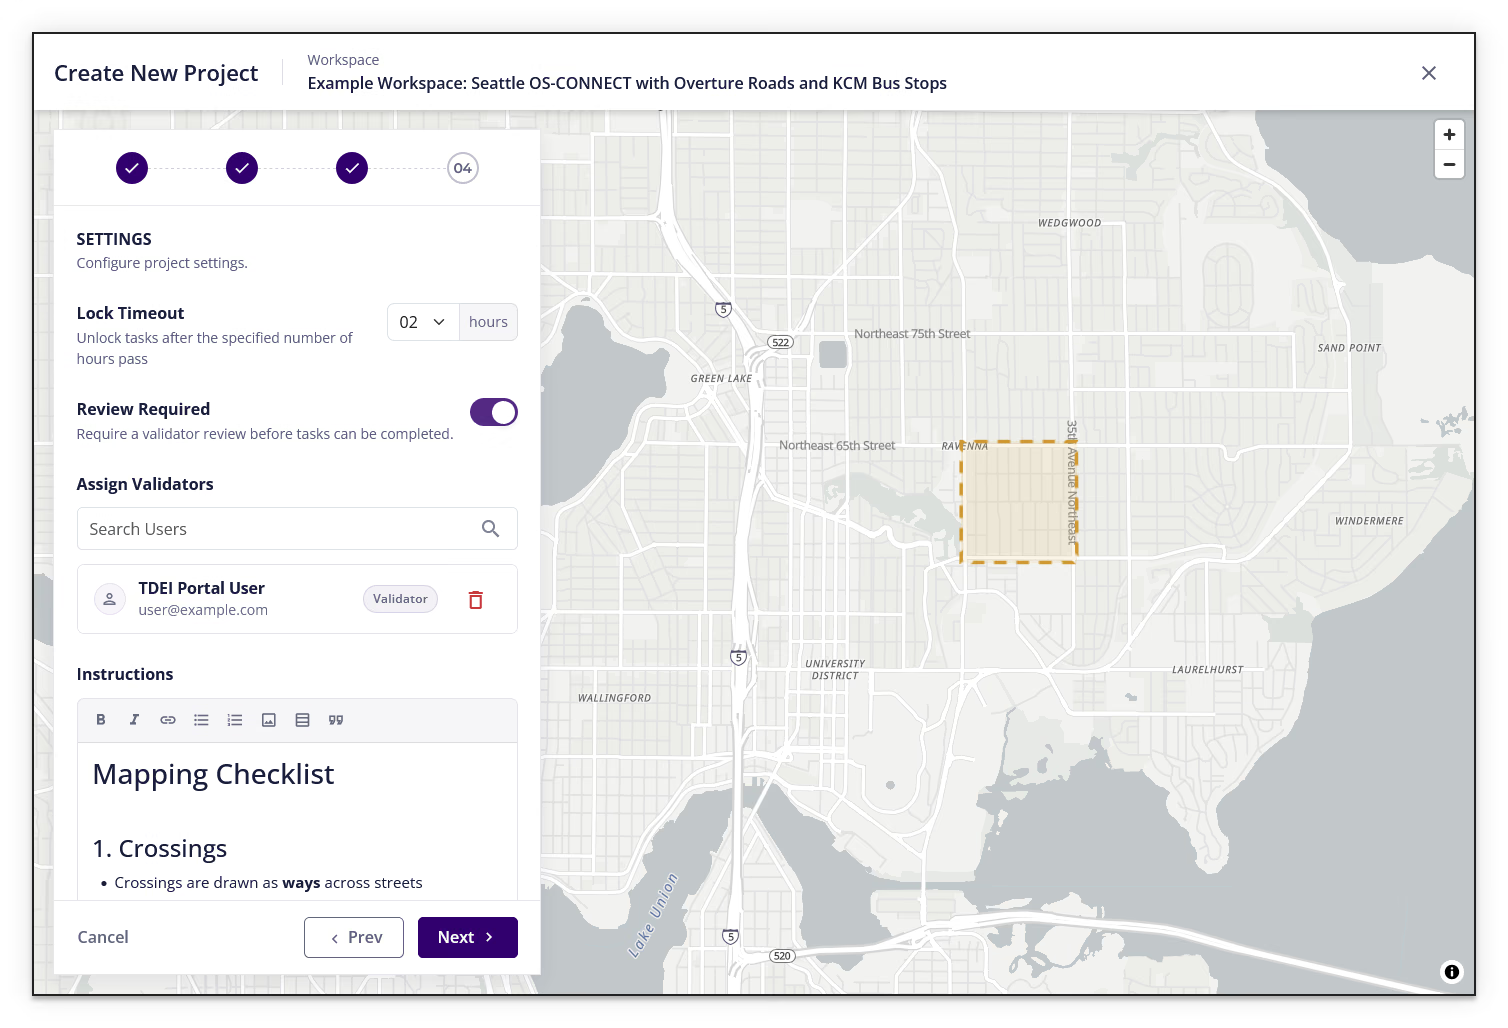
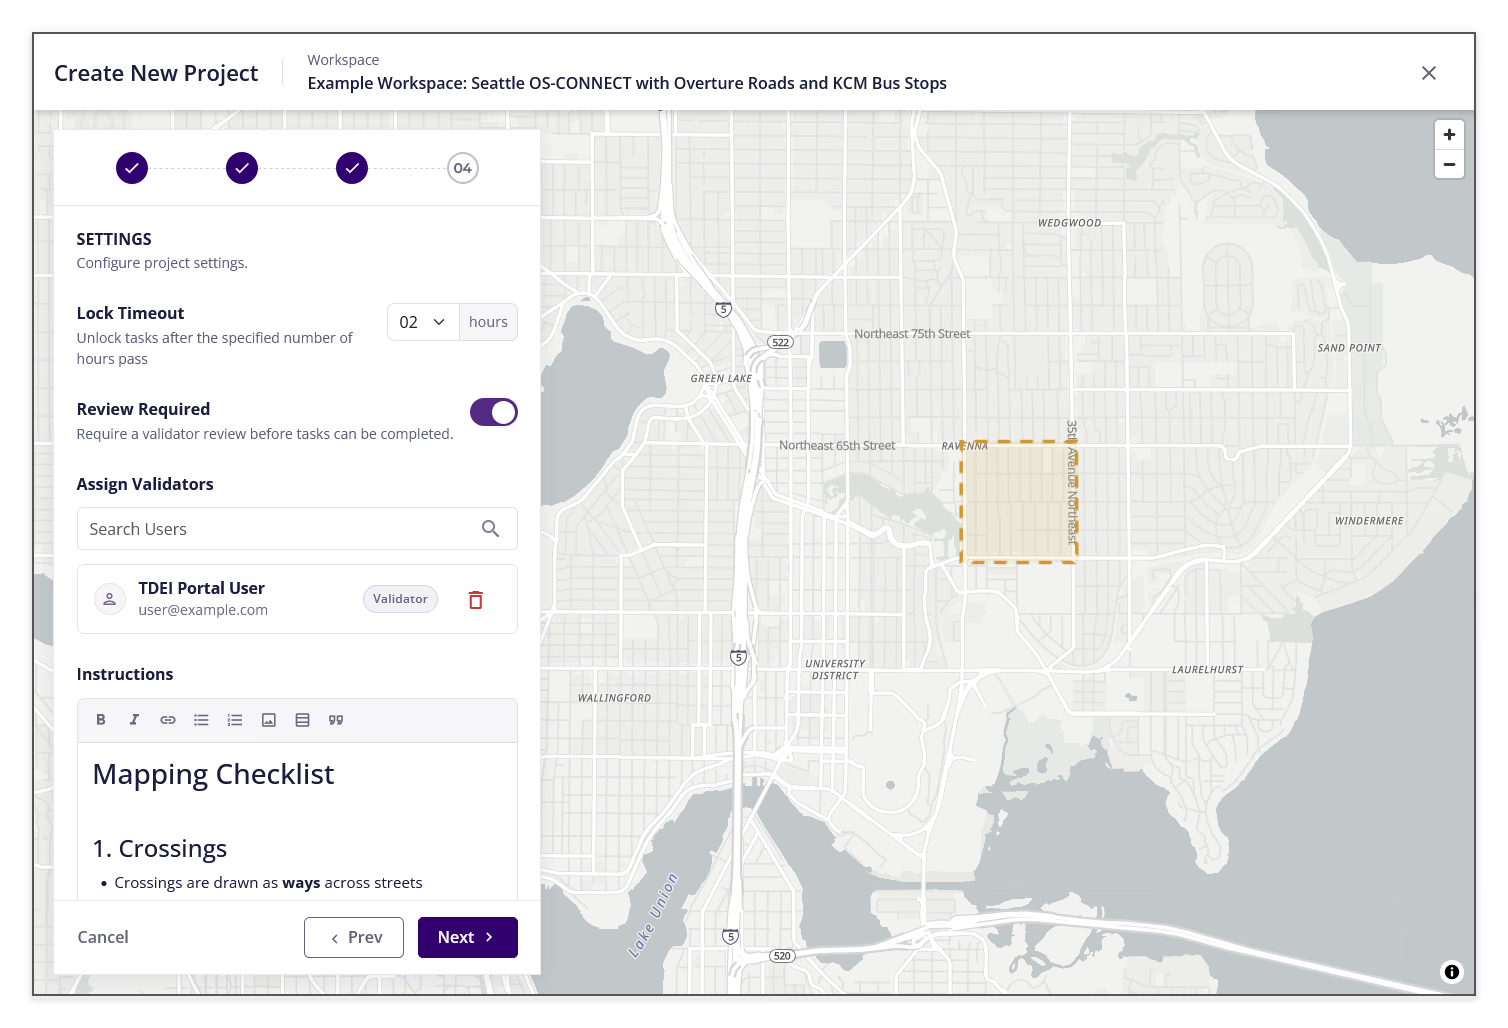
Step 3: Configure project settings⚓︎
- Set the Lock Timeout
- Enable or disable Review Required
- Use Assign Validators to search for users and assign validator roles
- Enter project instructions in the rich-text Instructions editor
- Select Next
The Lock Timeout controls when locked tasks are automatically unlocked. Review Required requires validator review before tasks can be completed.
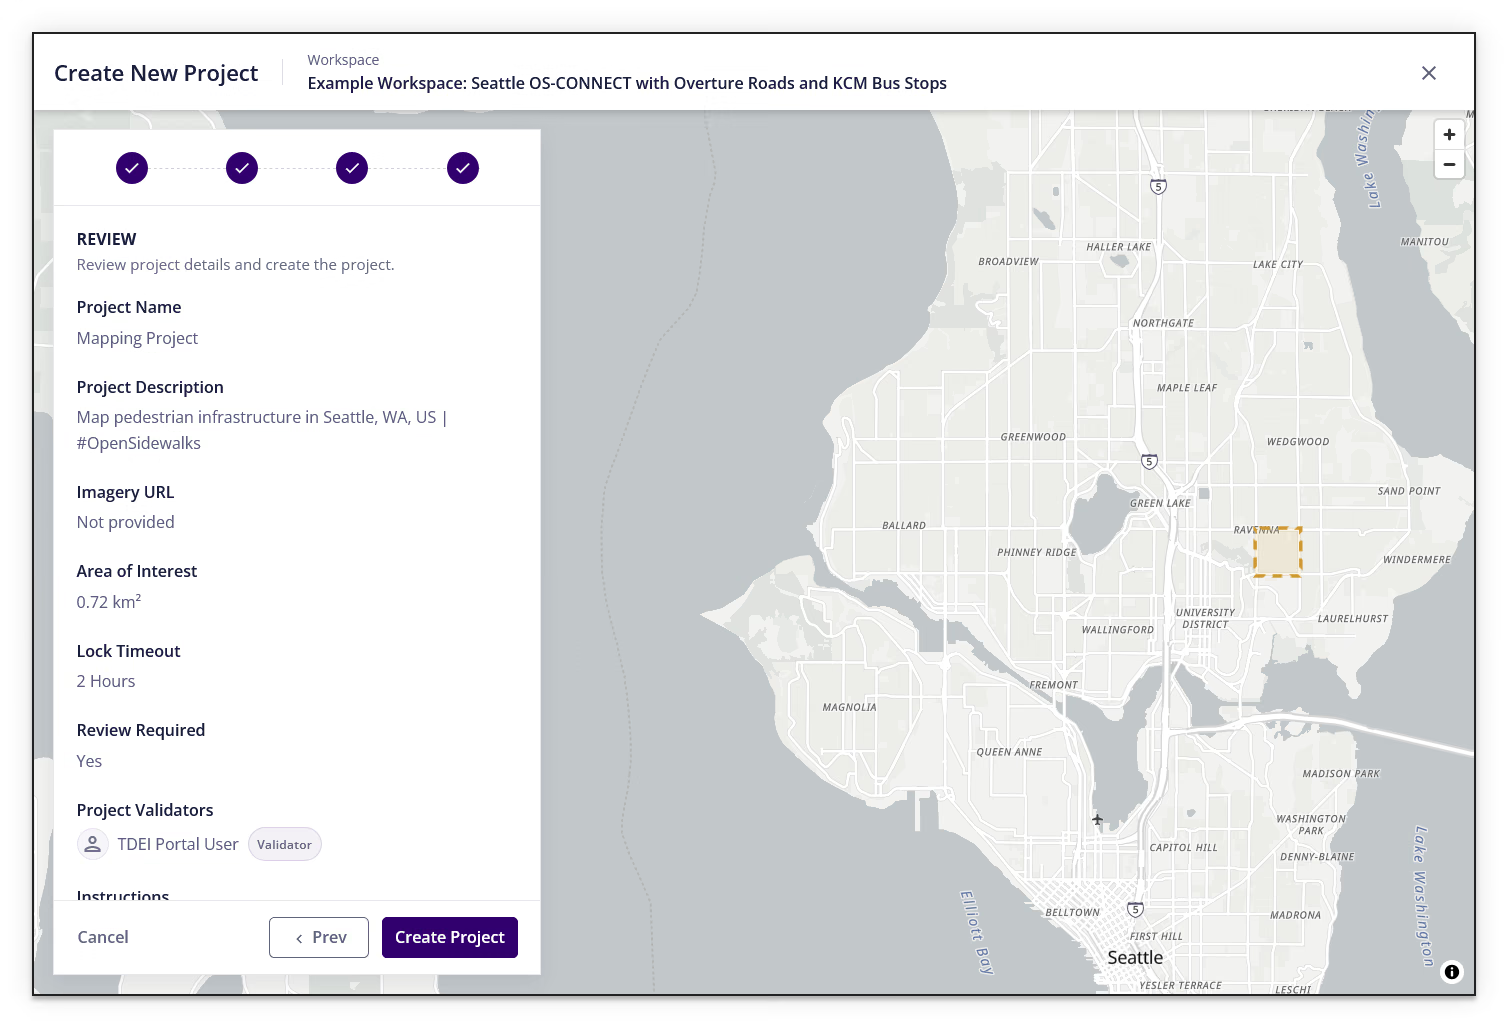
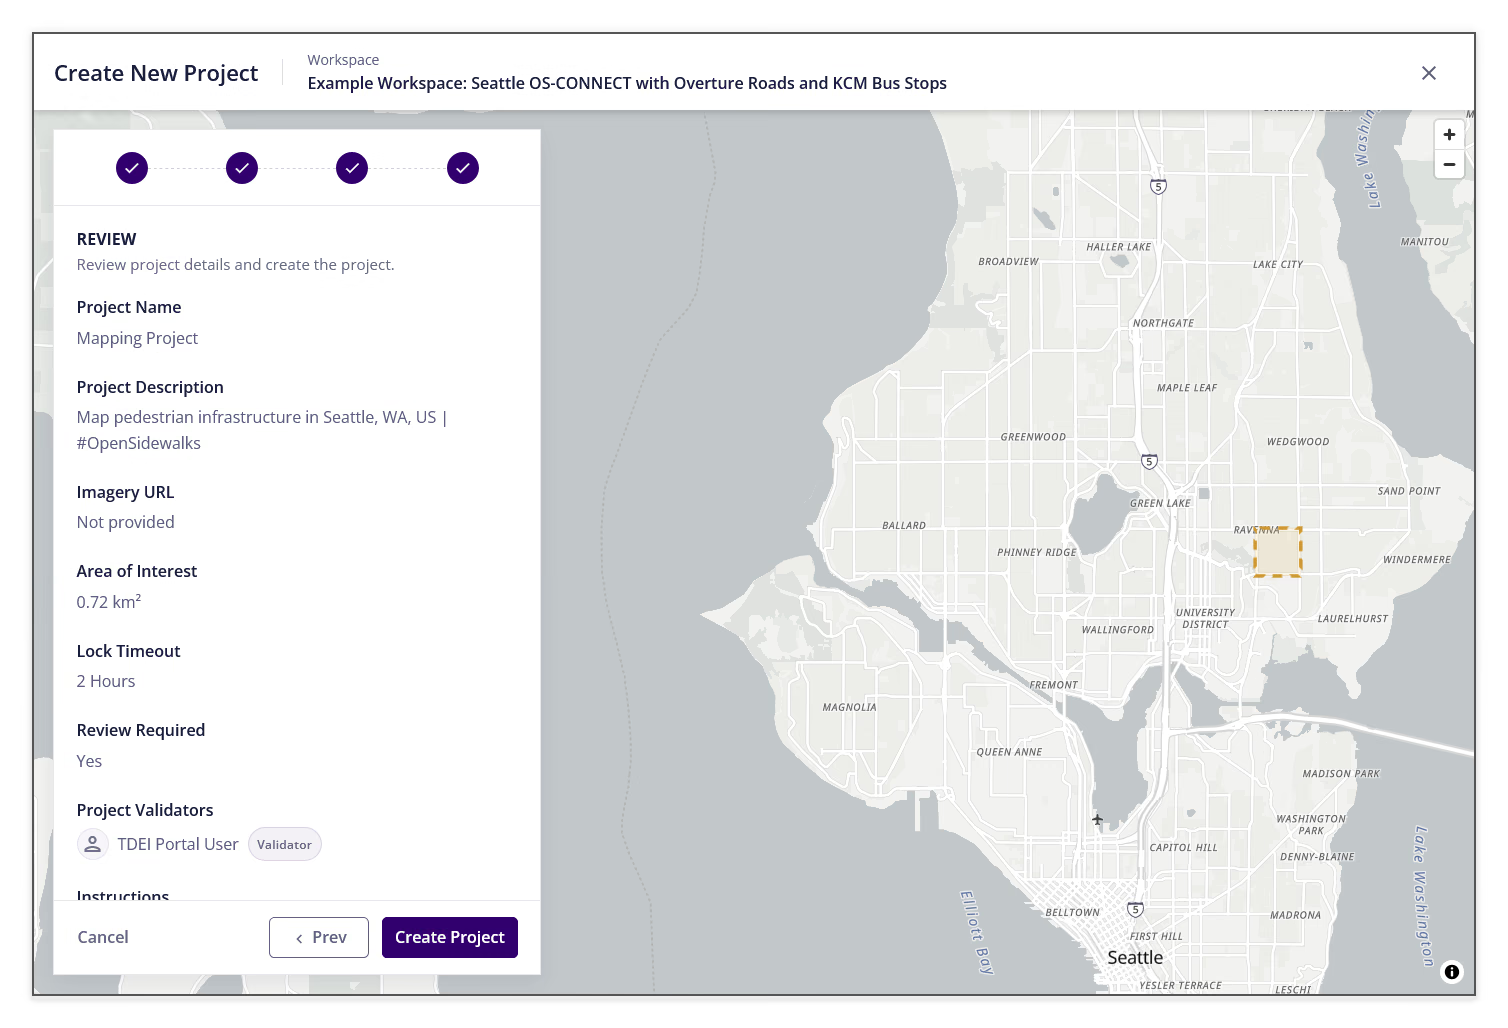
Step 4: Review and create the project⚓︎
- Review the project details, description, imagery URL, area of interest, lock timeout, review requirement, validators, and instructions
- Select Create Project
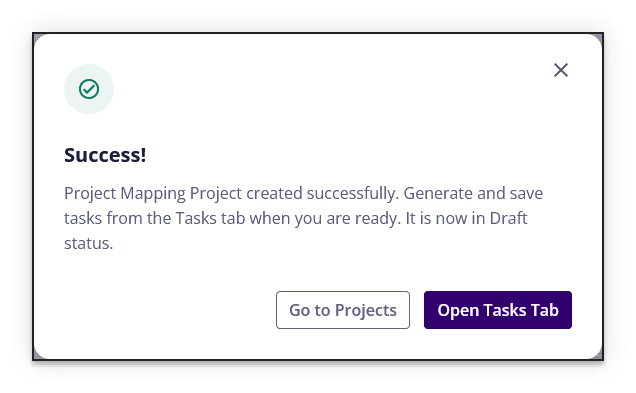
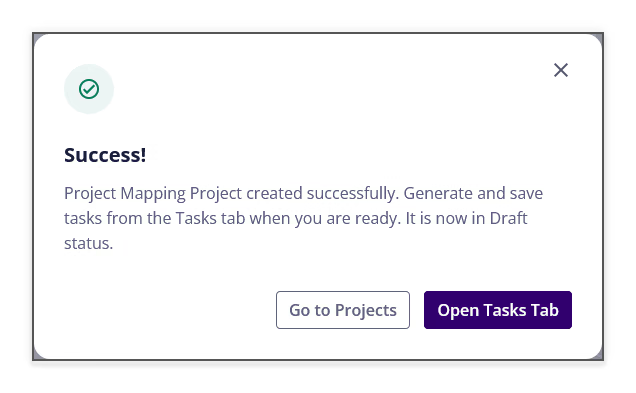
After the project is created, Workspaces displays a success message. The new project is initially in Draft status.
Generate and save project tasks⚓︎
- Select Open Tasks Tab from the creation success dialog, or open the project's Tasks tab
- Set the task area between
0.25 km²and1 km² - Select Generate Tasks
- Review the generated task grid on the map
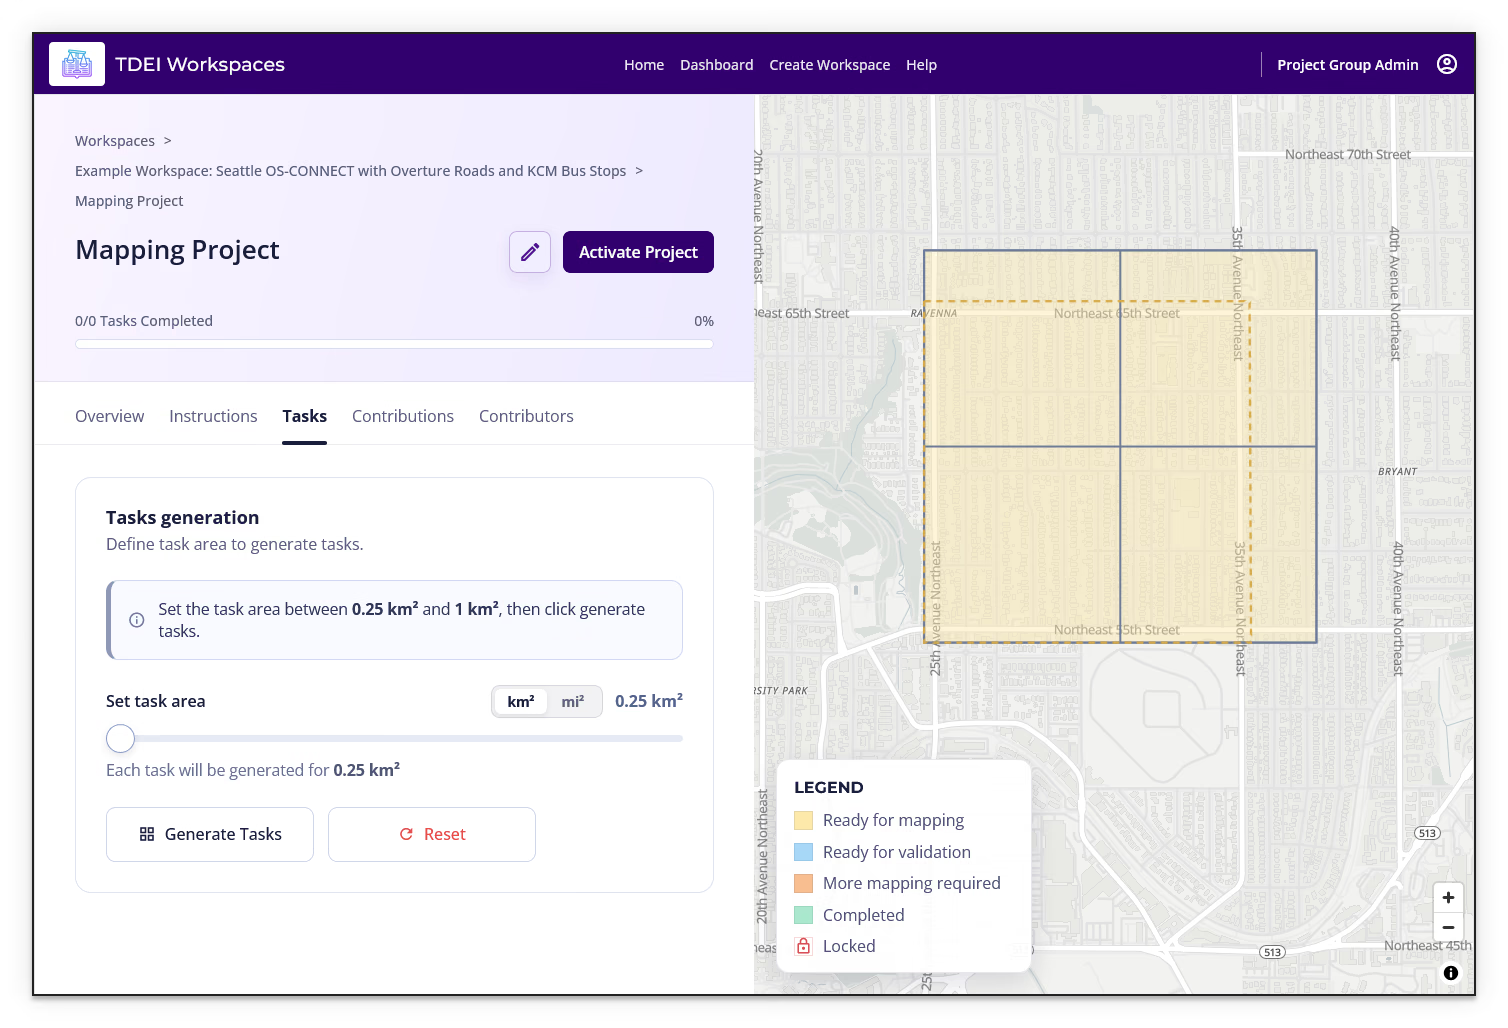
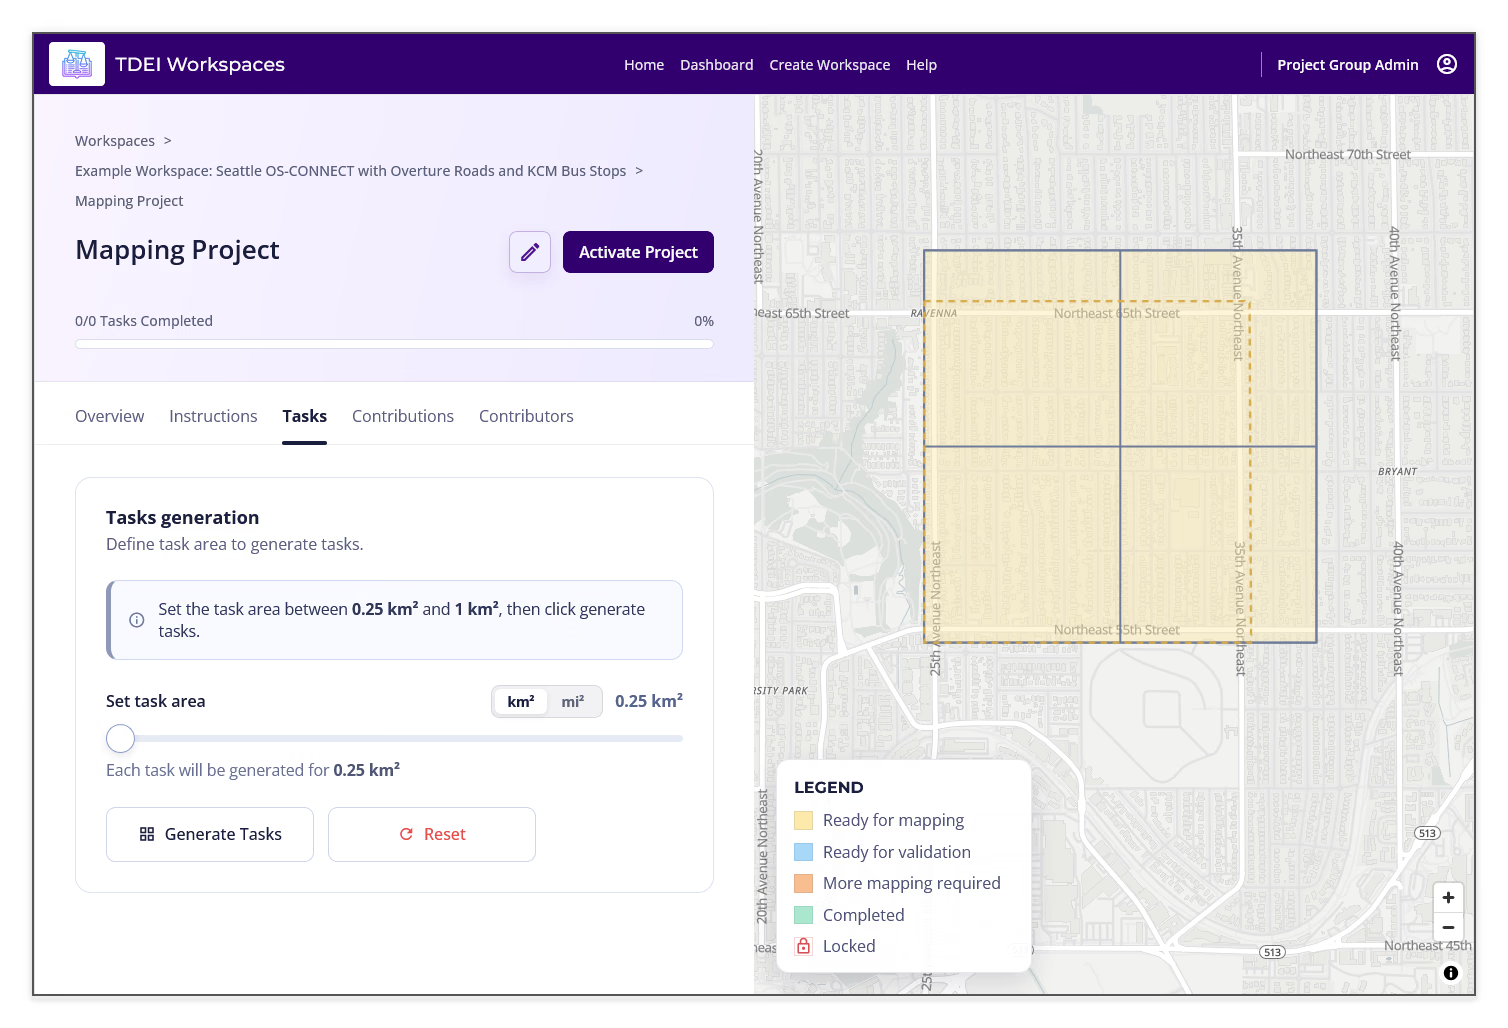
When tasks are generated, the panel reports how many tasks were created and the approximate size of each task.
- Review the task grid
- Select Save Tasks
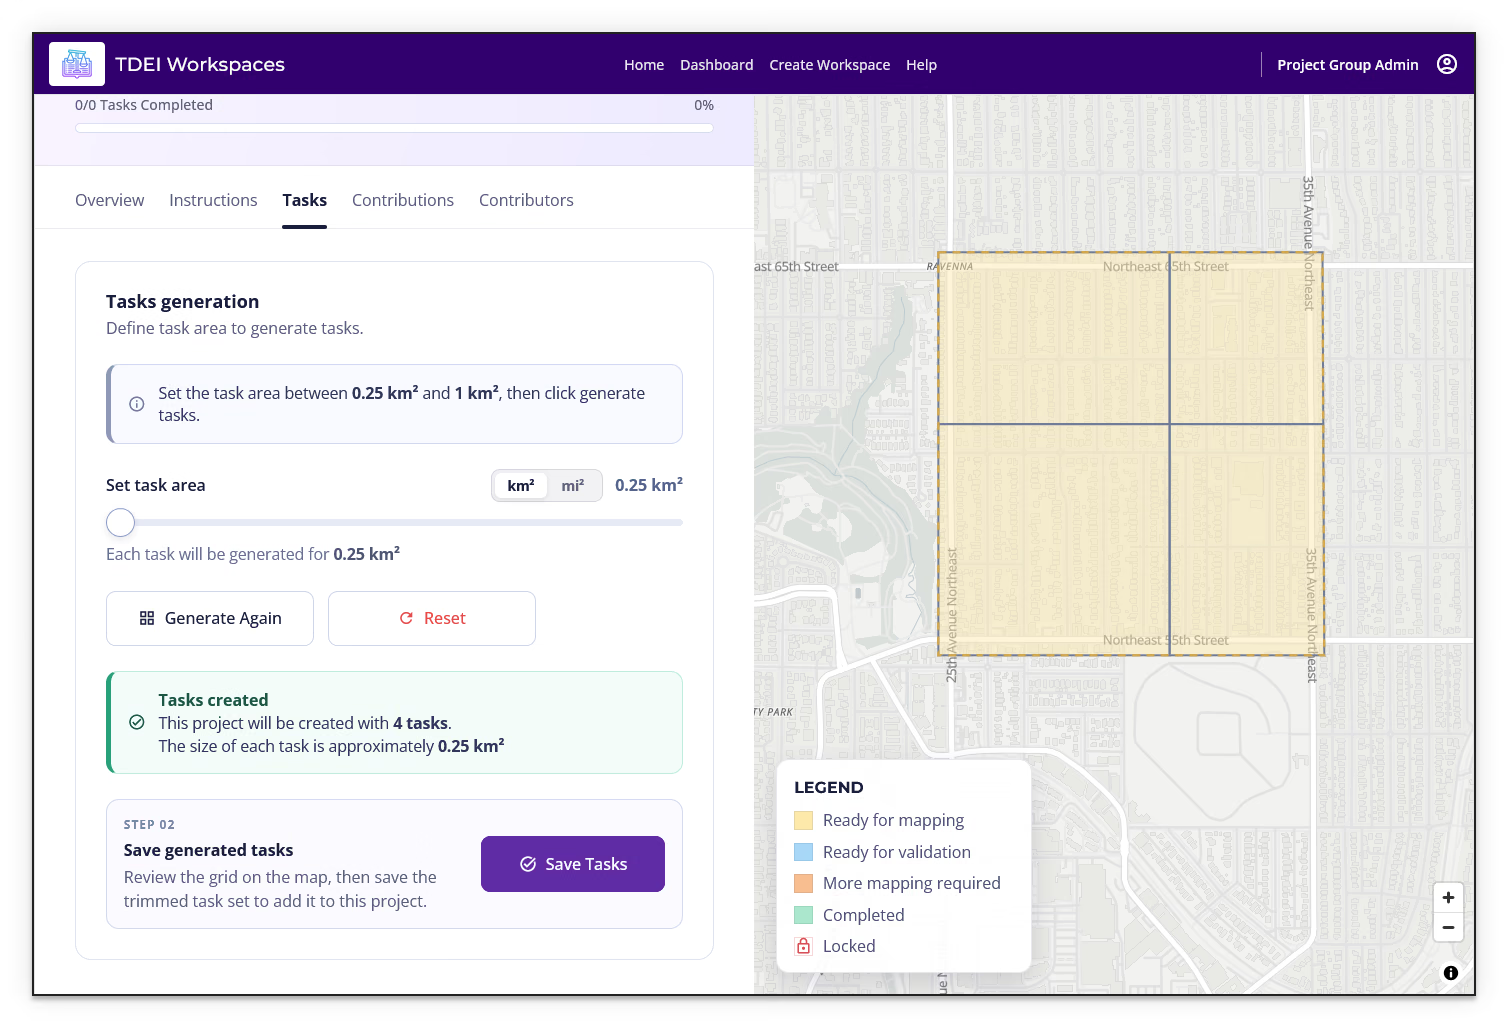
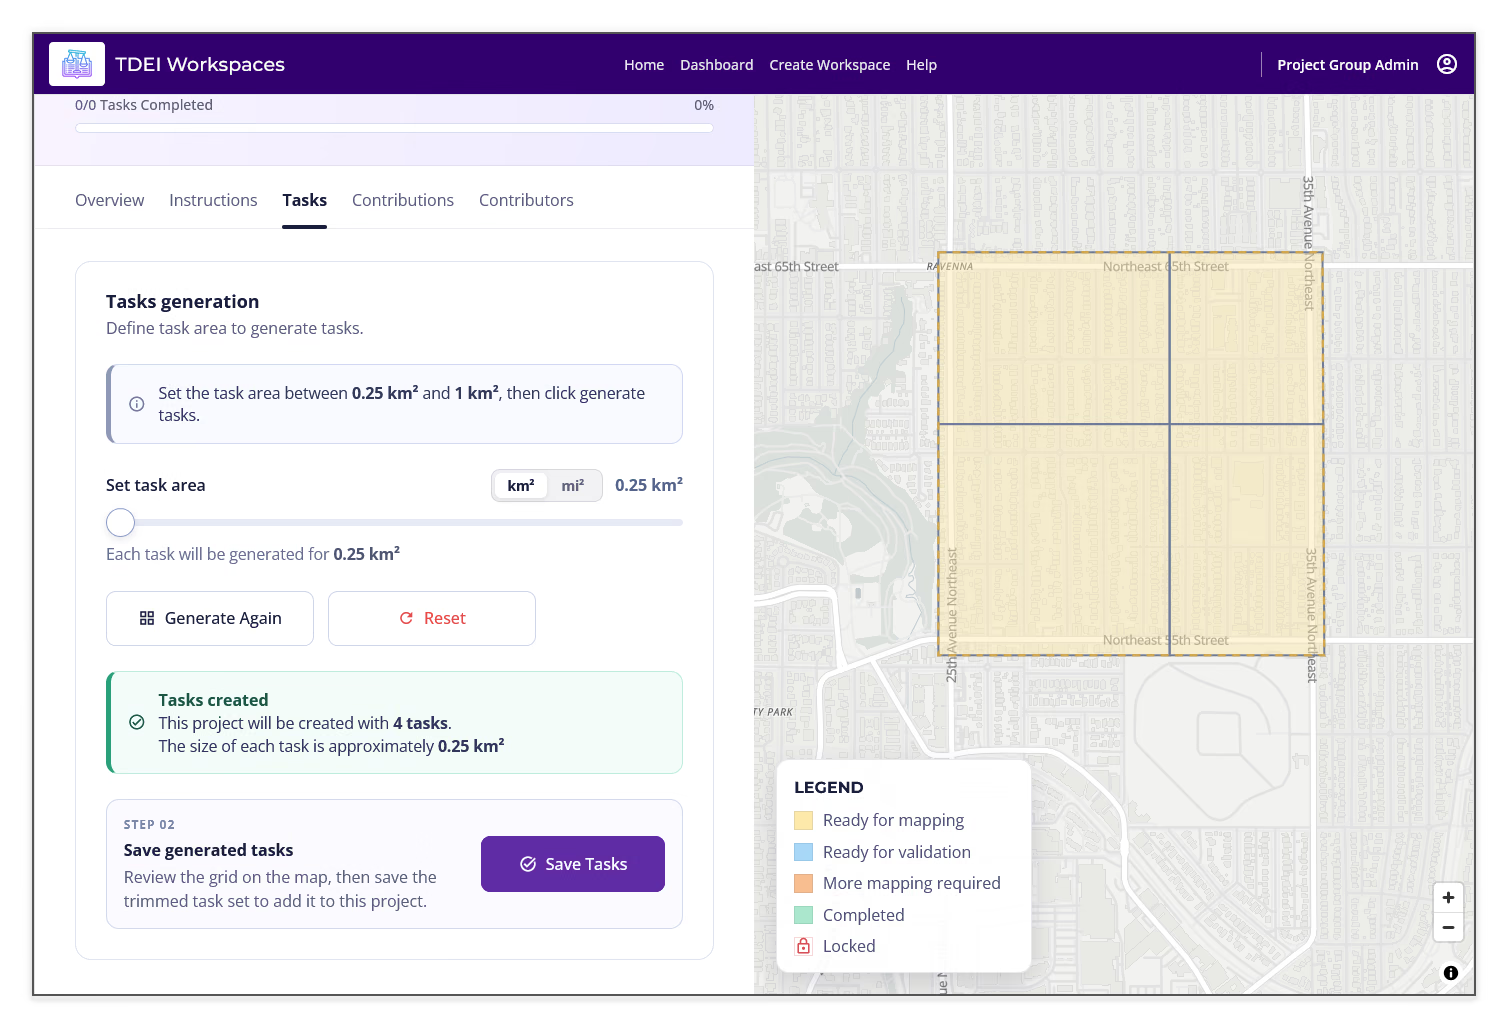
Workspaces confirms that the tasks are saved and reports how many tasks are available.
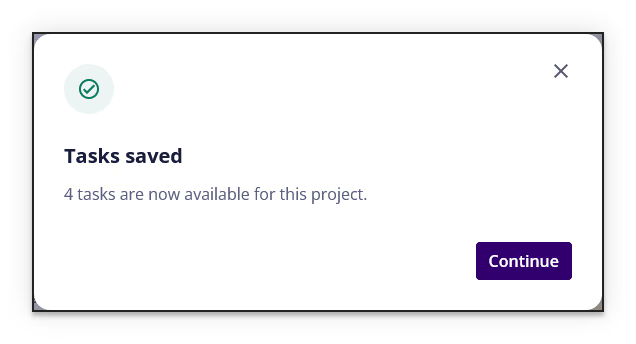
- Select Continue
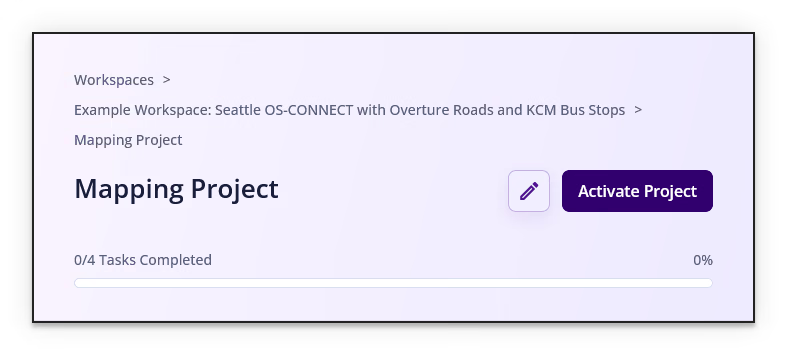
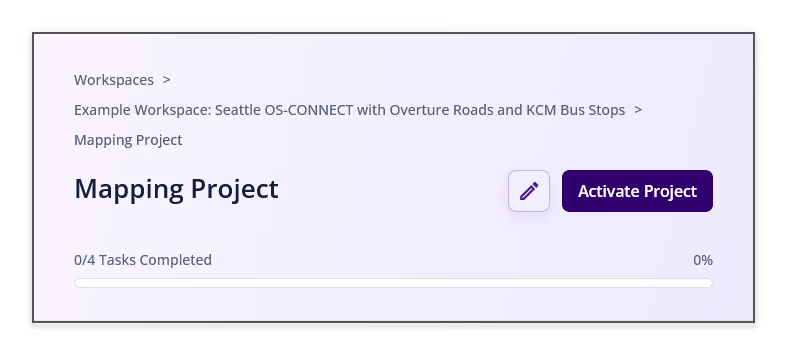
- Select Activate Project when the project is ready to leave Draft status
Previous: Workspace Projects | Next: View a Project