Elements
Elements⚓︎
This section explains how to define the map features that quests target.
For a list of all guides on the TCAT Wiki, refer to the Guides List.
Add an Element⚓︎
An element groups the quests that describe one type of mapped feature.
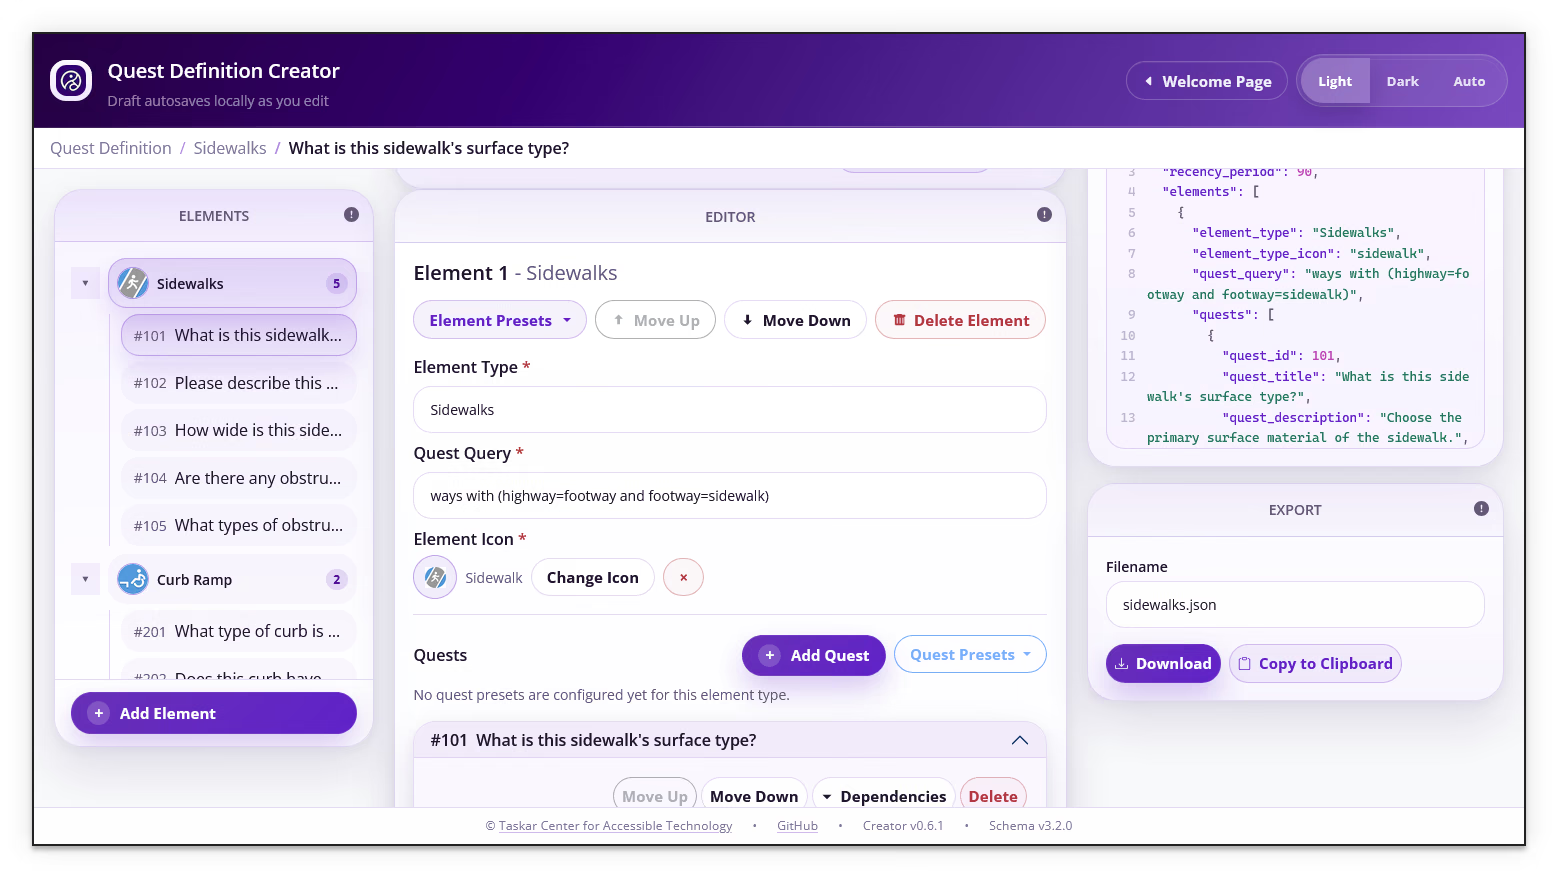
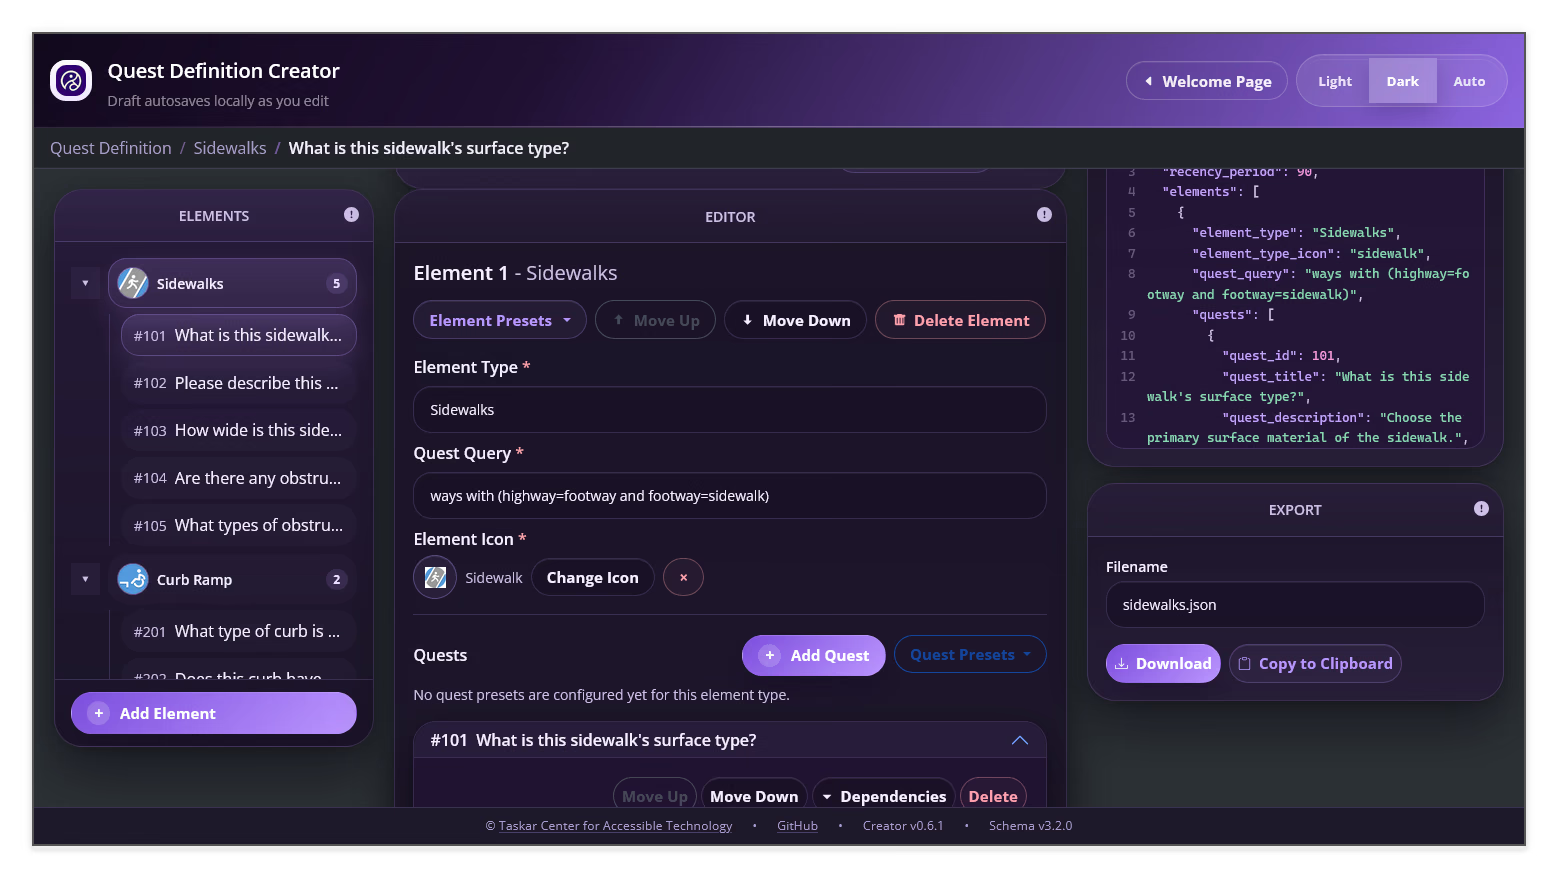
- Select Add Element in the Elements panel
- Enter a name in Element Type, such as
Sidewalks - Enter the matching expression in Quest Query, such as
ways with (highway=footway and footway=sidewalk) - Select Pick Icon, filter the icon list if needed, and choose a built-in icon
- Review the element in the editor and the JSON Preview
The Element Type, Quest Query, and Element Icon fields are marked as required in the editor. Enter meaningful values before continuing to validation and export.
Define the Target Query⚓︎
The Quest Query determines which mapped features receive the element's quests. Start with the element type and add only the tag filters needed for the project.
Examples include:
waysways with (footway=sidewalk)ways with (footway=sidewalk and !surface)nodes with (barrier=kerb and !tactile_paving)
Use the Element Query Guide for the supported query syntax and test a query against the intended workspace data before publishing the definition.
Select an Element Icon⚓︎
- Select Pick Icon when no icon is assigned
- Enter a term in Filter icons to narrow the list
- Select a built-in icon that represents the element type
- Select Change Icon to replace an existing icon, or Clear icon to remove it before choosing another
You can use a matching custom icon after defining it in Presets and Custom Icons.
Use an Element Preset⚓︎
When a matching preset is available, select Element Presets in the element editor and choose the preset to scaffold the element. Review every generated field, including the query and icon, before adding quests.
If no matching preset is configured, enter the element values manually.
Reorder or Remove Elements⚓︎
- Select Move element up or Move element down to change the element order
- Select Delete element to remove the selected element and its quests
Review the JSON Preview after reordering or deleting an element so that the exported structure still matches the intended workflow.
Next Steps⚓︎
Select Add Quest under the element and continue to Quests to configure its questions.